The Bikram Yoga postures
The Bikram Yoga Series builds every posture on the previous one. Thanks to the combination and order of the exercises Bikram Yoga offers you great benefits. At the end of the lesson, oxygen-rich blood has been delivered to every cell in your body and you have moved your spine in all directions it was designed to move in order to strengthen your nervous system. Bikram Yoga heals and prevents injuries, strengthens body and mind and improves your overall health.
The order of the postures is partly based on a Western understanding of anatomy and also on the Eastern knowledge of postures (asanas), breathing (pranayama) and meditation. With this East-West combination Bikram Yoga has beneficial effects for all sorts of typical Western health problems caused by stress, overeating, poor posture and a hectic lifestyle.
Deep Breathing | Pranayama
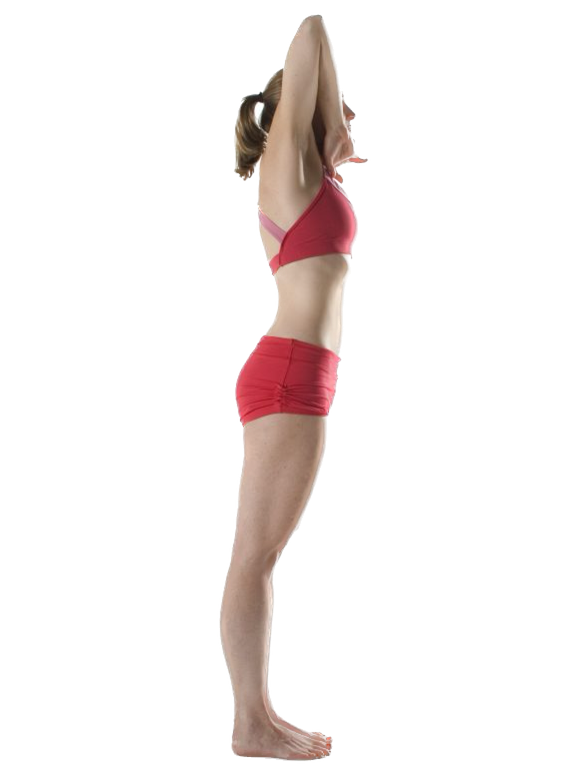
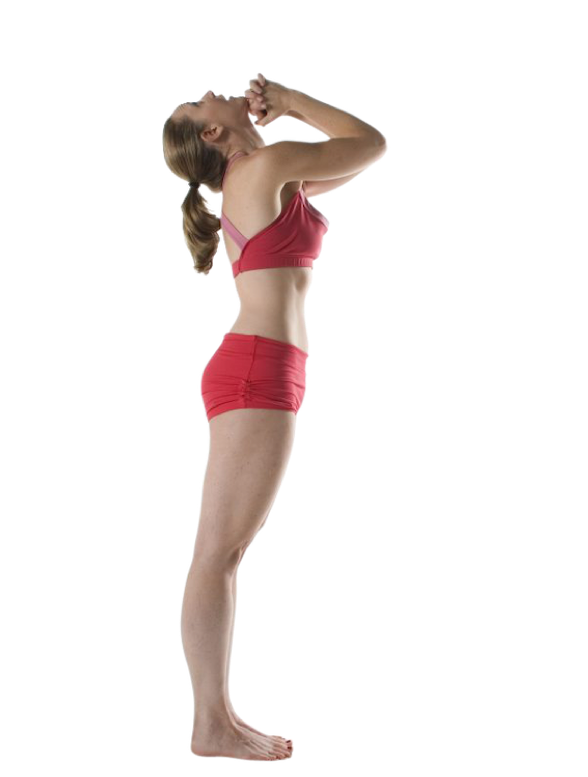
This is the very first exercise that is done to start the lesson. It is meant to get you concentrating immediately. You are required to breathe in through your nose slowly for six counts and out through your mouth slowly for six counts.
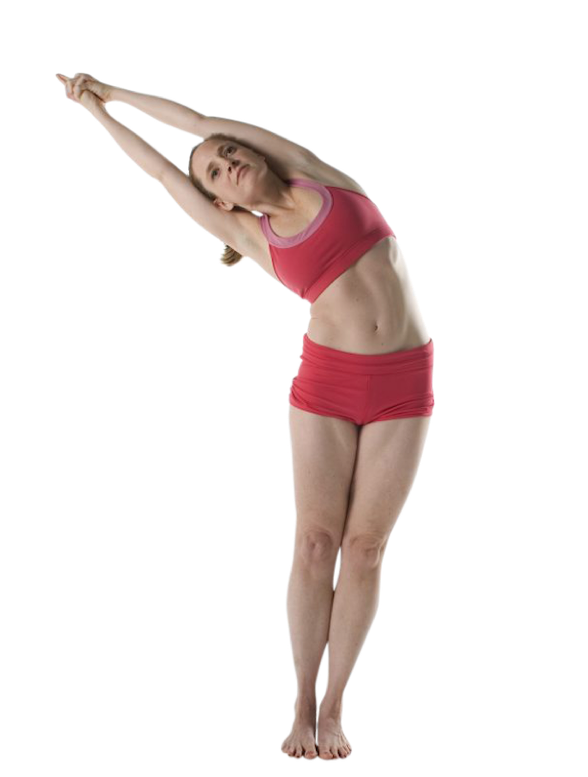
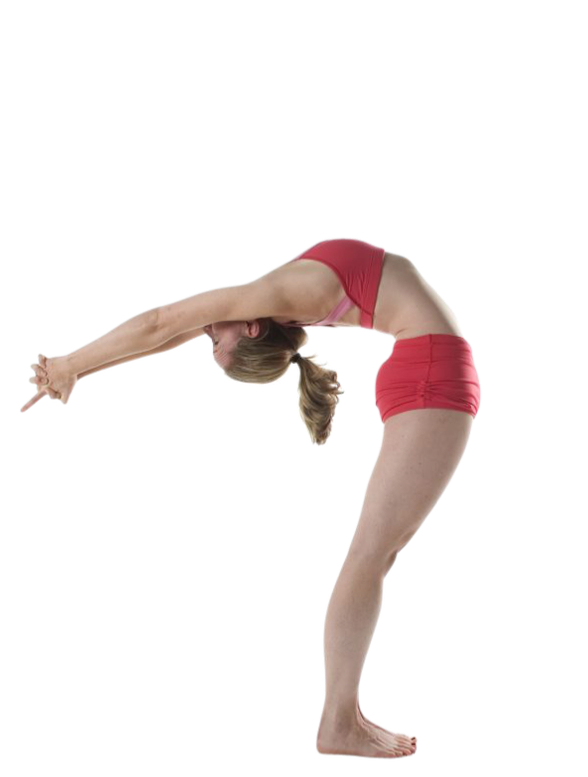
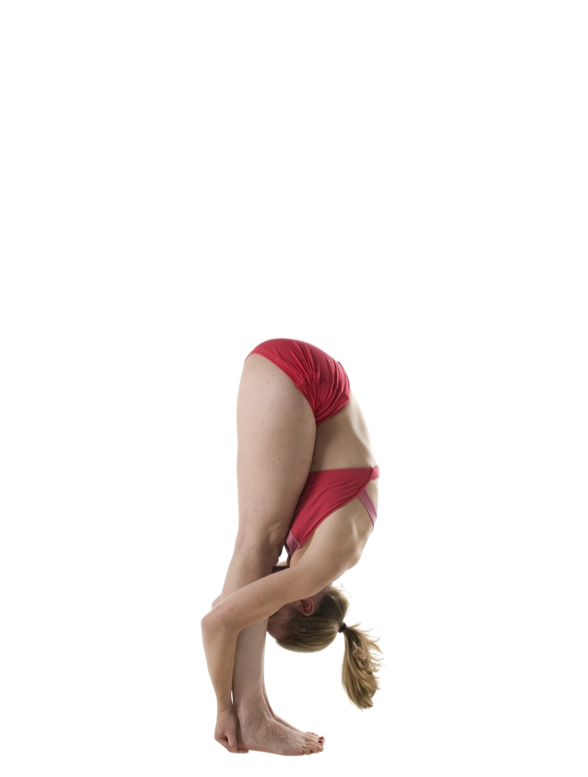
Half Moon with Hands to Feet Pose | Ardha-Chandrasana with Padahastasana
The next posture has three parts; the half moon side bend and the half moon back bend and it is combined with the hands to feet pose. The side bend is the preparation for the back bend. The back bend is an essential part to any yoga sequence and we do a very deep one early on in class to prepare you for the rest of the class. Hands to feet pose is a forward bending stretch whereby the goal is to bend at the hips and stretch the entire length of the spine.
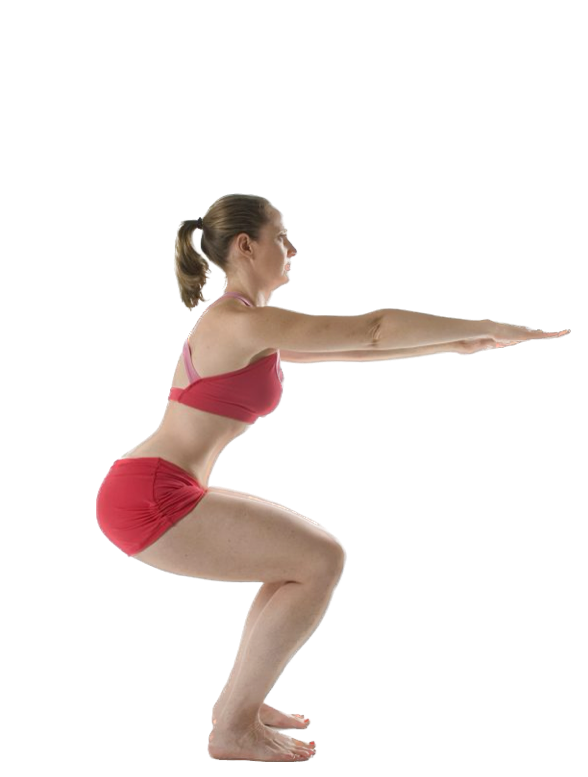
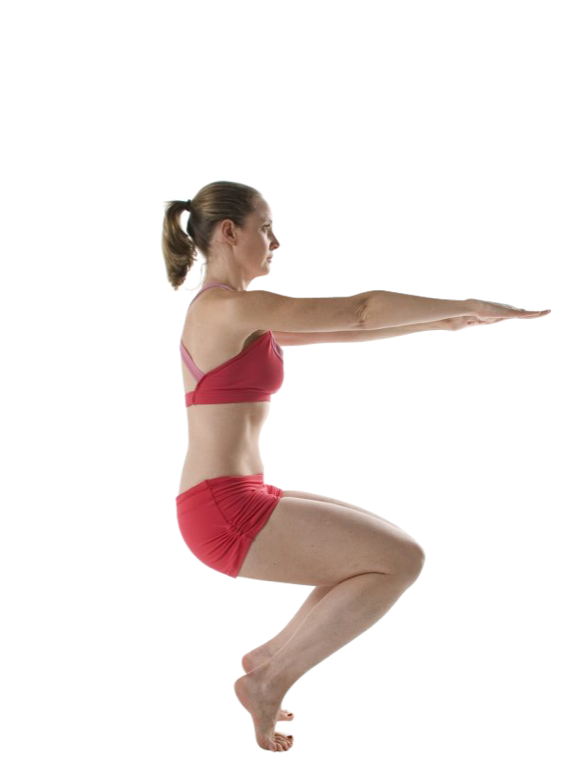

Awkward Pose | Utkatasana
The next posture, Awkward Pose, also consists of three parts. You work on your endurance by keeping yourself in the posture with the big muscles in your legs. In the first part you arch your lower back while keeping your feet flat on the floor. The second and third part your spine is straight and tall so you create a strong back and abdominal muscles to support this shape. This series opens your hips, strengthens your ankles, feet, calves and shins, and strengthens the muscles along your spine and abdominal wall.
Eagle Pose | Garurasana

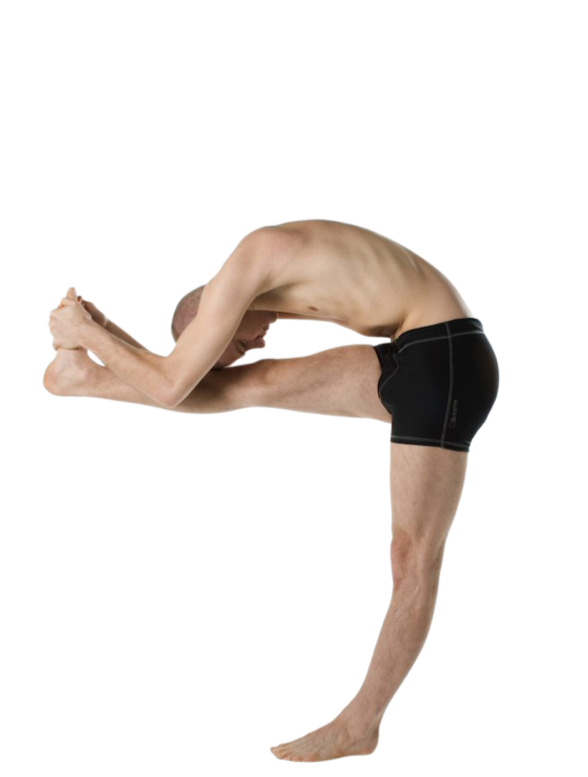
Standing Head to Knee Pose | Dandayamana-Janushirasana
This posture has four distinct stages; the journey from stage to stage can take a lifetime, but it is the journey that counts. The key to this posture is do not move onto the next stage until you have enjoyed the success and completed the one before it. Also note you can be between stages, not fully arrived at the next one, but on your way! Each stage you are further enhancing a forward bending arc of your spine while supporting your lower back by always pulling your stomach in. Your standing leg is your foundation and must be solid before you move on. The standing leg must be straight and supported by muscle contraction of the butt and thigh.
Standing Bow Pose | Dandayamana-Dhanurasana
This is the third one-legged balancing posture and requires three different actions to be performed simultaneously; kicking your leg back and up to help with hip and thigh flexibility, stretching your arms in opposite directions to open your shoulders and chest and bring your upper body down level to the floor in order to change the blood circulation of the heart. It is a backward bend and spine twist posture at the same time.

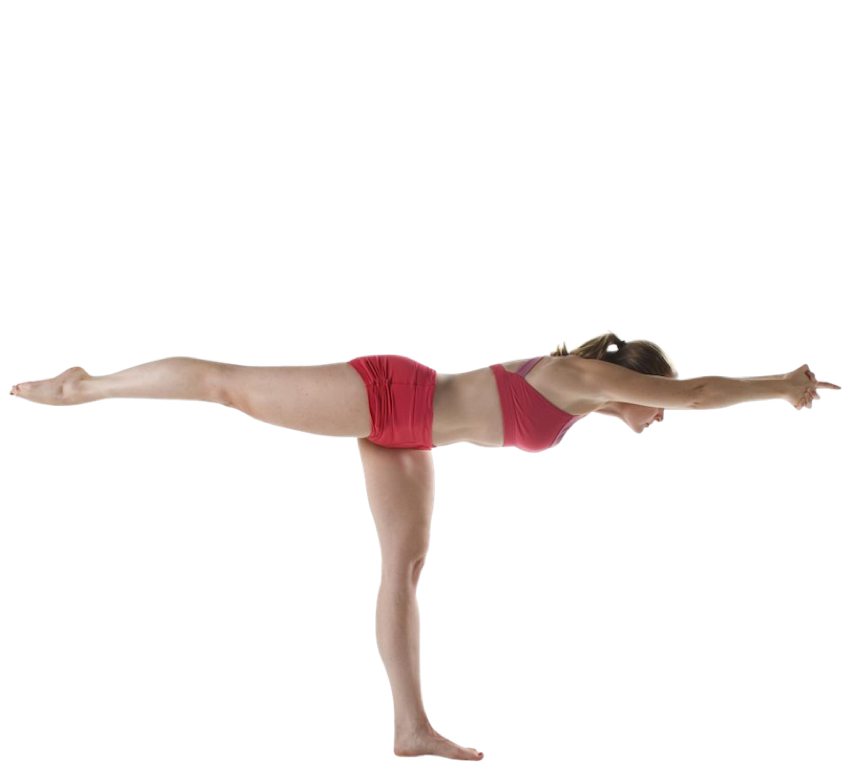
Balancing Stick Pose | Tuladandasana
Standing Separate leg Stretching Pose | Dandayamana-Bibhaktapada-Paschimotthanasana
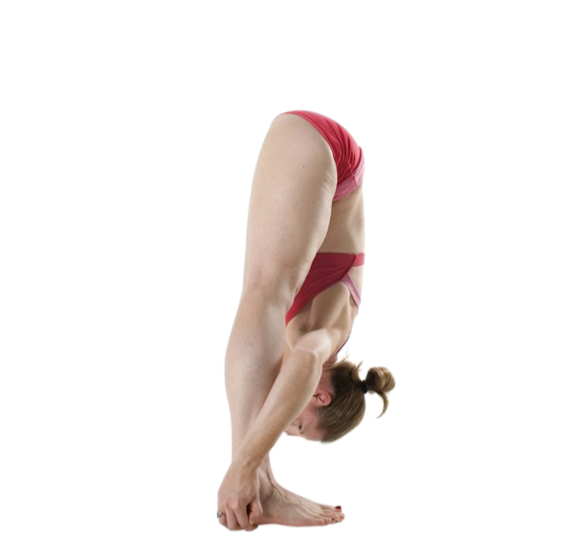
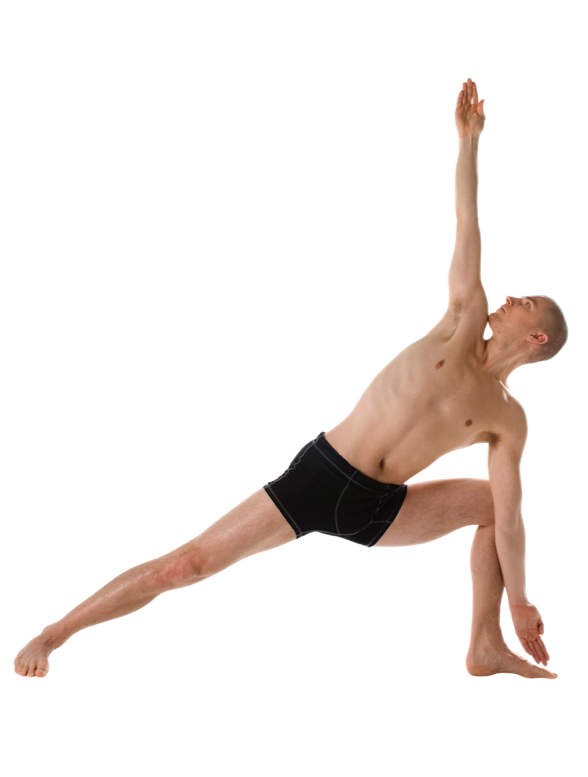
Triangle Pose | Trikonasana
Triangle posture. This is the second wide-legged posture and just like the previous is great for hip flexibility. It is a hip opener, shoulder and chest opener and spine twist at the same time. Many styles of yoga have a triangle posture; this one is unique because you use a lot of core strength to hold your upper body in the correct position of twisting while stretching up, resisting the urge to rest a hand on the floor or an elbow on a knee.
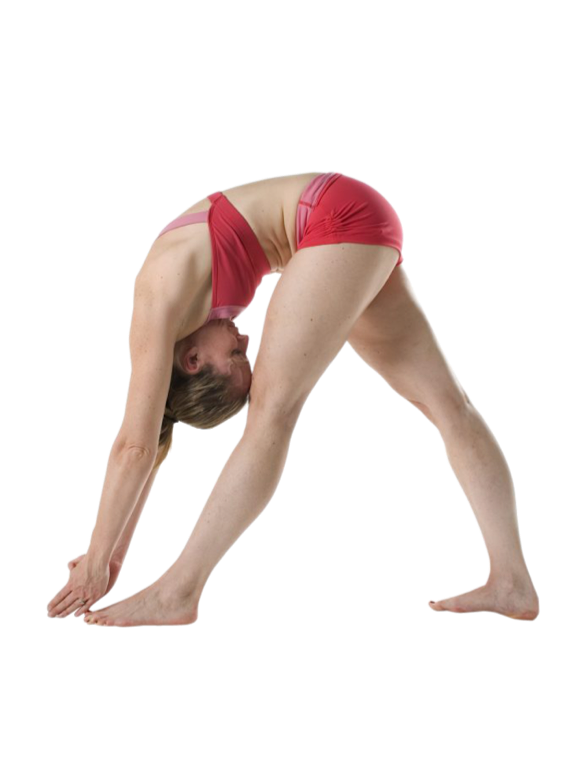
Standing Separate Leg Head to Knee Pose | Dandayamana-Bibhaktapada-Janushirasana
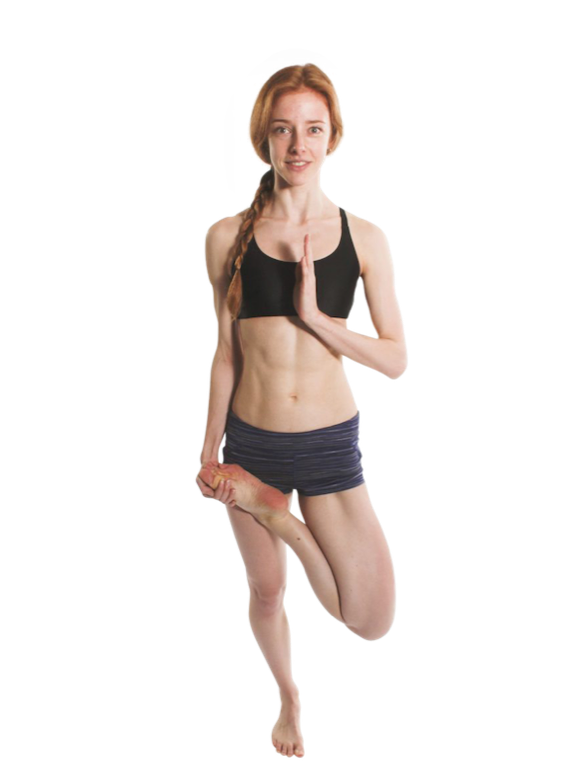
Tree Pose | Tadasana
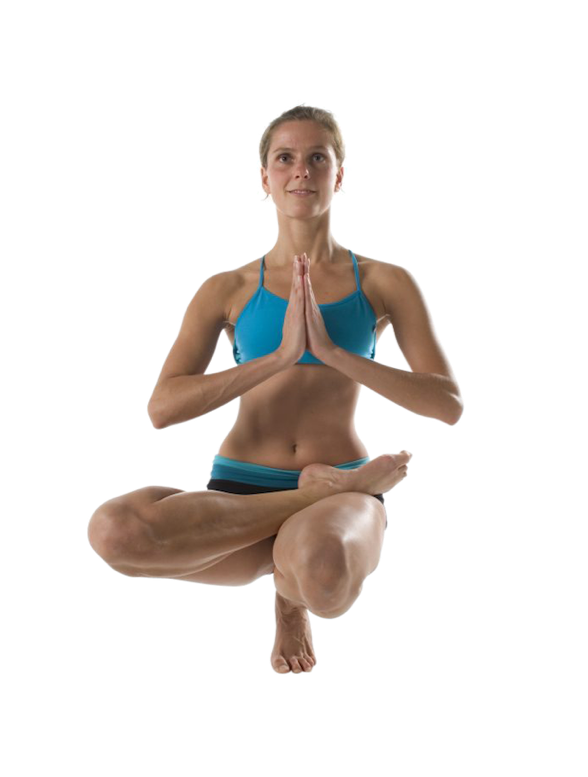
Toe Stand Pose | Padangustasana

Dead Body Pose | Savasana
Savasana. This might not seem like a posture, but it is one of the most important postures we do and you will do it between almost every posture throughout the floor series, at least the ones where we are lying on the back. This is a relaxing posture. You are meant to hold absolutely still to allow the blood circulation to have as little resistance as possible and work to relax and slow your breathing. You keep your eyes open in order to stay focused and present with what you are doing. This pause and stillness is where we can maximize the benefits we get from the yoga practice. Be still, be aware and breathe (in and out through your nose).
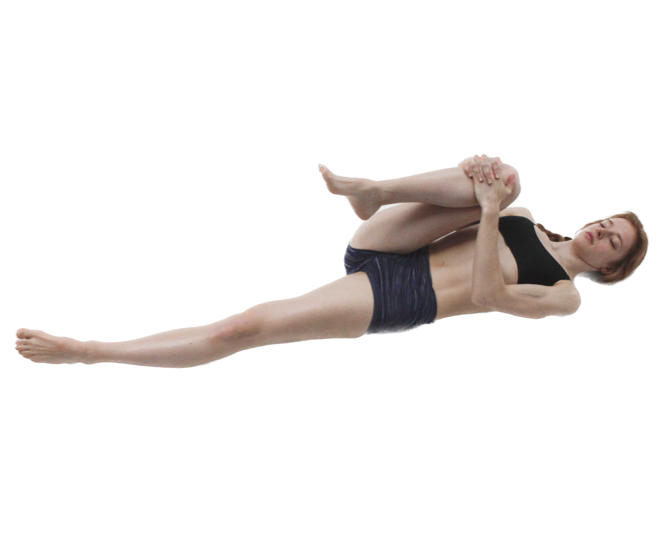
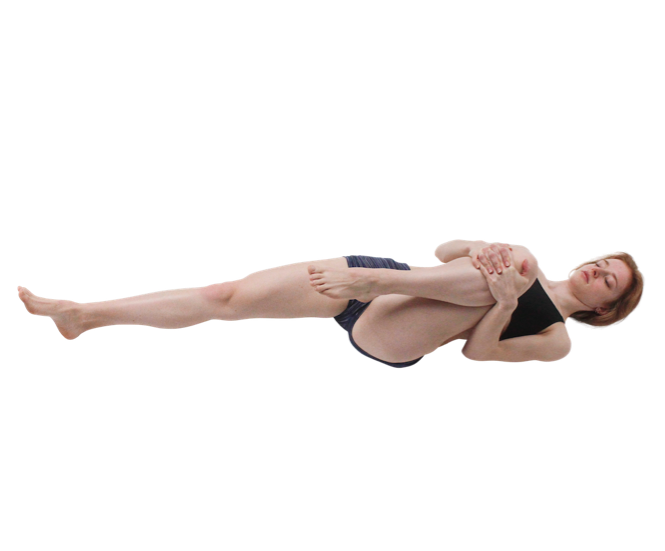
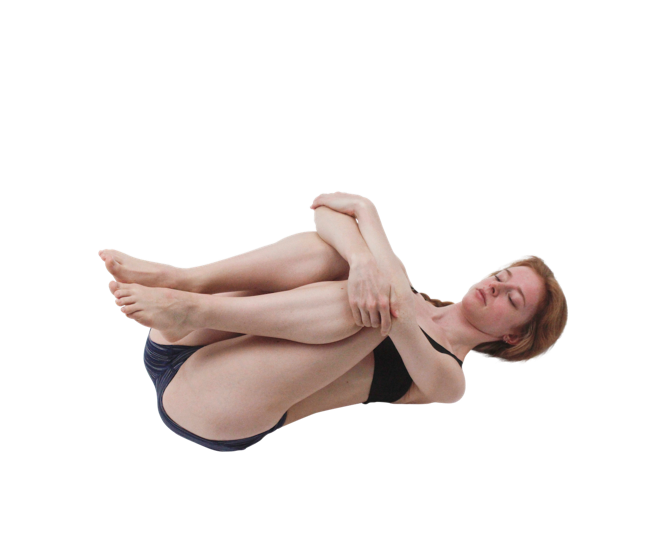
Wind Removing Pose | Pavanamuktasana

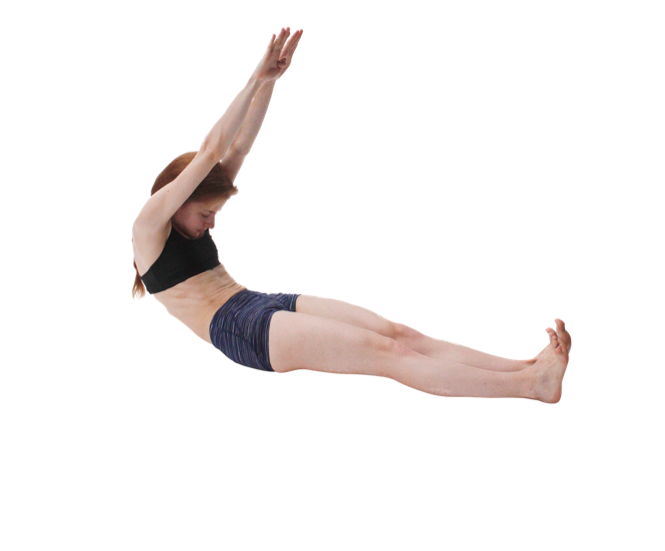
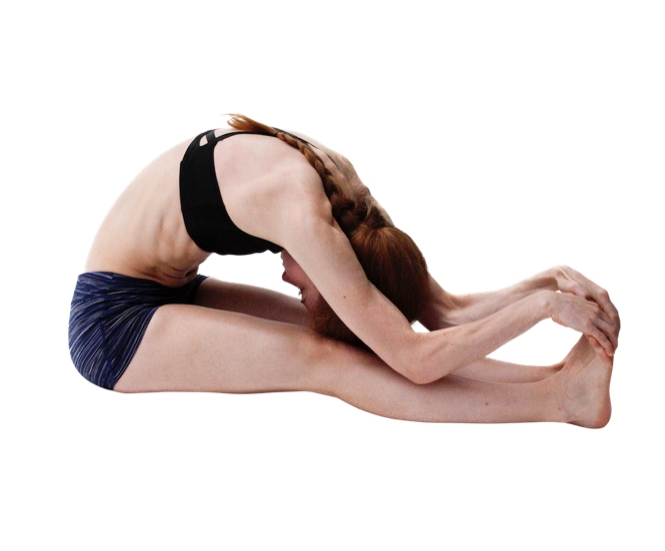
Sit-up
This is a transition posture and you will do it again 13 more times before the end of the series. Each time you do the sit-up there is a sharp double exhale, through the mouth, at the very end of the sit-up when you to touch your forehead to your knees. The exhale at the end of the sit-up, when you are folded in half, has the benefit of sucking your abdomen in further to massage your internal organs. Be sure to pay special attention to the use of your legs in the sit-up; they must always be straight, from contracting muscles (locking the knees) and squeezing together to use the inner thighs to help support the lower back in this movement.
Cobra | Bhujangasana

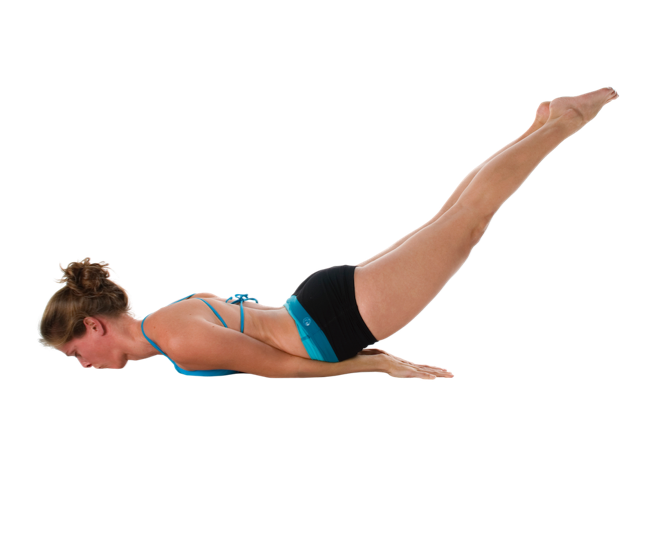
Locust Pose | Salabhasana
Full Locust Pose | Poorna-Salabhasana
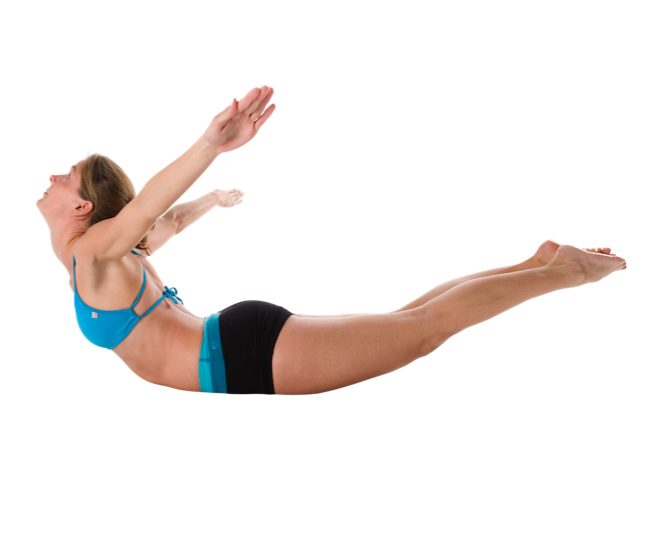
Full locust pose. This is the third of the back strengthening series and is meant to create pressure in the middle part of the spine. Just like the posture before the degree to which you can keep your arms and legs straight and muscles contracted the more effective you’ll be at getting your back muscles to contract and you’ll effortlessly fly into the air!
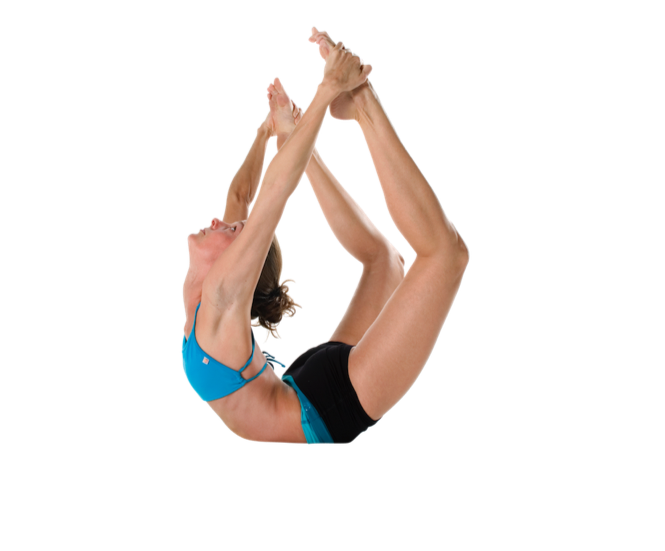
Bow Pose | Dhanurasana
Fixed Firm Pose | Supta-Vajrasana
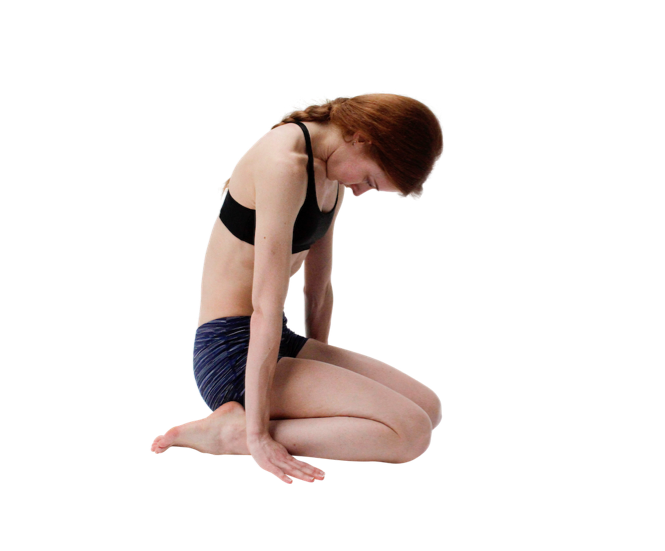
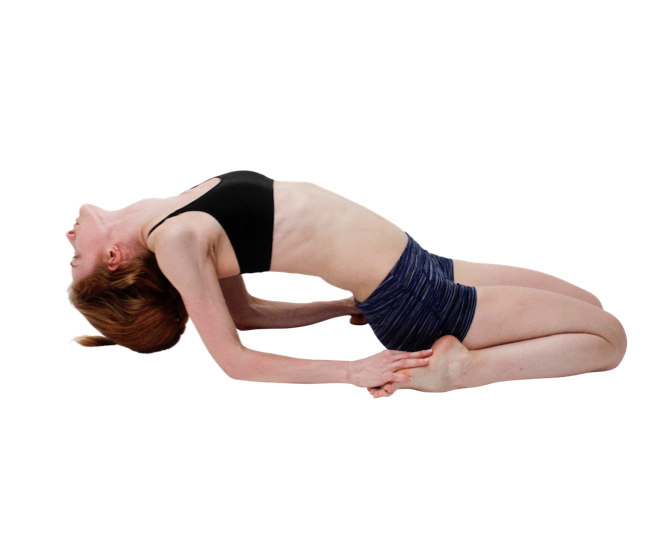
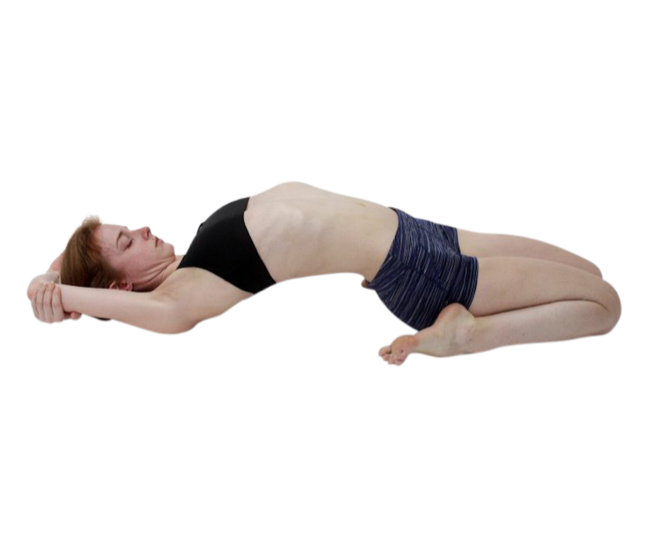

Half Tortoise Pose| Ardha-Kurmasana
Camel Pose | Ustrasana
Camel. This is the last and deepest backward bend we do in class, also known as ‘the healer of the spine’. In this posture we are trying to create an even backward bend in all parts of the spine, not just the easy parts to bend backward, like the lower back or the neck. Instead you work to create space between all of the vertebrae and then back bend. This posture does have the tendency to make some feel dizzy, just go slow, keep your eyes focused on one point and remember to breathe.

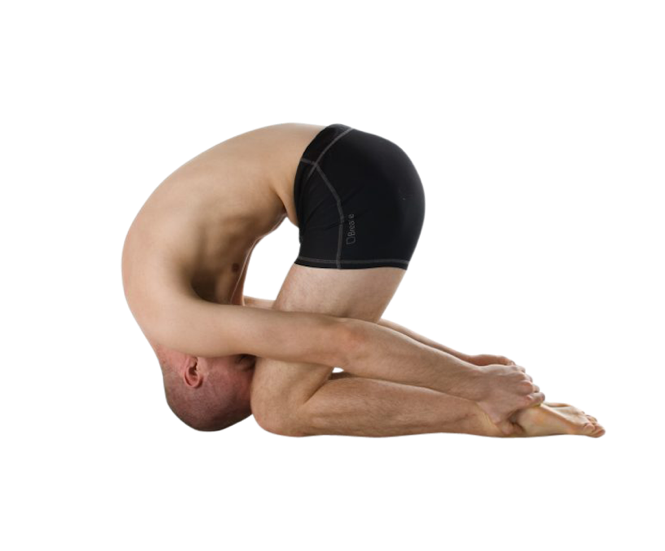
Rabbit Pose | Sasangasana
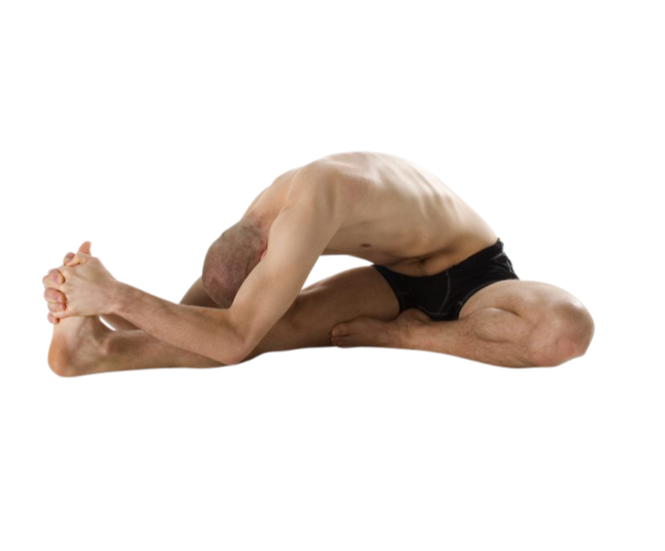
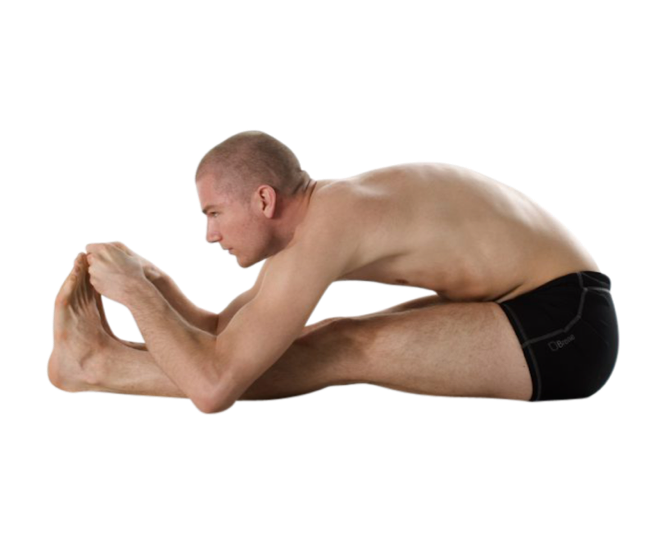
Head to Knee with Stretching Pose | Janushirasana with Paschimotthanasana
Separated Leg Head to Knee with Stretching Pose. These postures are performed directly one after another before completing the second set of both. When performing the right side and the left side of separated leg head to knee; you are creating again a deep forward bending compression, same as you just did in the previous posture, with the rabbit. However, you do so with the outstretched leg, which is a good hip opener, but the emphasis of the posture is the rounding of the spine.
The Stretching Pose is exactly what it’s name is; stretching. You stretch the entire back-side of your legs and the full length of your spine. This posture works best if you can get your legs straight and from there stretch your spine and remember getting your legs one millimeter straighter each class is still progress, keep trying. Also this is the second to last posture in class and you are very warmed up so don’t be afraid to try to get your legs straight.
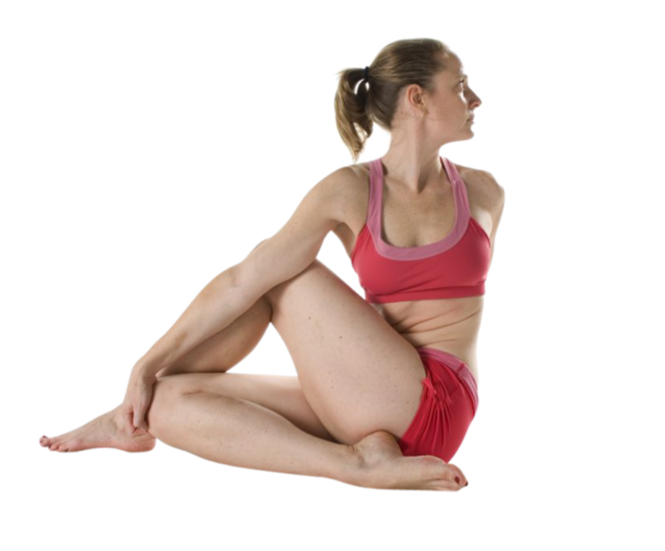
Spine Twisting Pose | Ardha-Matsyendrasana
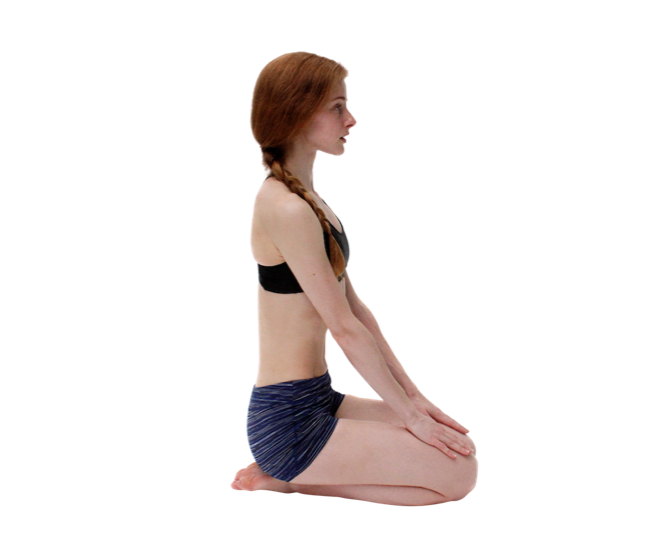
Blowing in Firm | Kapalbhati in Vajrasana
Kapalbhati breathing. You started with a breathing exercise and now you finish with one. This is meant to be a last final cleansing breath, the chance to push out any last toxins that still remain in your body. Sit up as tall and straight as possible. Make your arms straight and strong pushing down into your legs. Then pretend you are sharply blowing out a candle over and over again. When you do this your belly will snap in with each exhale and you will have the right effect.
